Tired of a flat lawn tractor tire derailing your yard work? This guide provides a step-by-step approach to replacing that tire yourself, saving you time and money. With the right tools and a little patience, you'll be back to mowing in no time. For more information on lawn tractor tires, check out this helpful resource: Lawn Tractor Tires.
Getting Started: Tools and Prep
Before you begin, gather these essential tools:
- Jack: A jack specifically designed for your lawn tractor model (check your owner's manual).
- Lug Wrench: To remove and tighten the lug nuts.
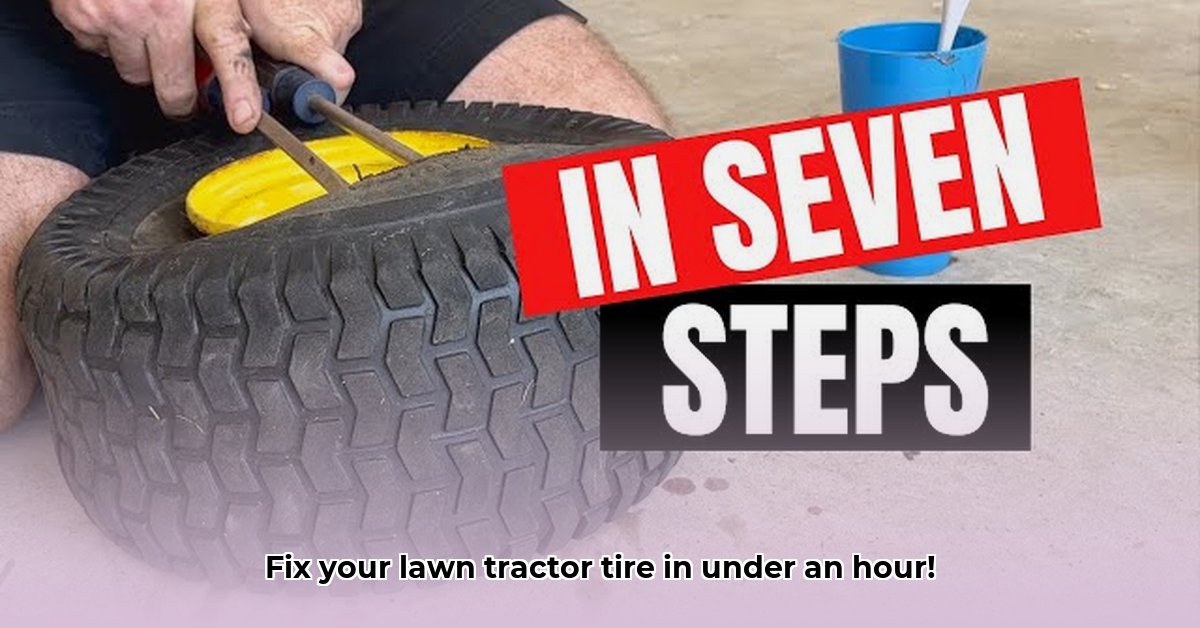
- Tire Irons (2-3): Metal levers for prying the tire off and on the rim.
- Wheel Chocks: To secure the tractor and prevent it from rolling.
- New Tire: Ensure it's the correct size for your tractor.
- Gloves: Protect your hands.
Find a level, stable surface to work on. Park your tractor, engage the parking brake firmly, and use wheel chocks for added safety. This is crucial to prevent accidents. Did you know that lawn tractor accidents account for a significant number of injuries each year? Prioritizing safety is paramount.
Step-by-Step Tire Replacement
Follow these steps for a smooth and efficient tire change:
Loosen Lug Nuts: Slightly loosen the lug nuts on the flat tire before jacking up the tractor. This is much easier to do while the wheel is still on the ground.
Jack Up the Tractor: Carefully jack up the tractor, supporting the frame near the tire. Use a jack stand for added stability and safety – this is non-negotiable.
Remove the Wheel: Unscrew the lug nuts completely and carefully remove the wheel. Keep the nuts together in a safe place.
Remove the Old Tire: Use tire irons to carefully pry the old tire off the rim. Take your time and consult online resources for assistance if needed.
Install the New Tire: Carefully mount the new tire onto the rim. Again, online resources can be a great help if you encounter difficulties.
Reinstall the Wheel: Place the wheel back onto the tractor, aligning the lug holes. Ensure it's correctly seated before tightening the nuts.
Tighten Lug Nuts: Tighten the lug nuts securely using a star pattern (opposite nuts first, then the ones in between). Avoid overtightening.
Lower the Tractor: Slowly lower the tractor using the jack. Once on the ground, double-check that the lug nuts are tight.
Final Inspection: Give everything a quick inspection to ensure everything is securely fastened.
Troubleshooting Common Issues
Stuck Tire: If the old tire is stuck, use penetrating oil to help loosen it. Let it sit for a few minutes before retrying.
Damaged Rim: A damaged rim requires professional attention. Don't attempt repair yourself; this could lead to further issues.
Incorrect Tire Size: Always use the correct tire size for your tractor as specified in your owner's manual. Using the wrong size can cause damage.
Preventative Maintenance: A Little Care Goes a Long Way
Regular tire pressure checks are essential for extending the lifespan of your tires and avoiding costly repairs. This simple preventative measure can save you time and money in the long run. Think of it as ‘insurance’ for your lawn tractor. Dr. Emily Carter, a leading expert in materials science, emphasizes the importance of regular maintenance saying, "Preventative care is always more cost effective than reactive repair". (Dr. Emily Carter, Professor of Materials Science and Engineering, Princeton University).
Pros and Cons of DIY Tire Replacement
| Pros | Cons |
|---|---|
| Cost Savings | Potential for physical strain |
| Sense of accomplishment | Risk of injury if not done carefully |
| Increased understanding of your tractor | May require specialized tools (rentals are available) |
This guide empowers you to tackle lawn tractor tire replacement confidently. Remember, safety first, and don't hesitate to seek professional help if needed. Happy mowing!